Thank you for attending Seed to Centerpiece
Below you will find some helpful information regarding the basics of growing specialty cut flowers, building an arrangement, sustainable floral mechanics and tools, and where to source local flowers. Please do not hesitate to email us at alanna@waverlyflowerco.com or morgan@waverlyflowerco.com with any questions that you may have!
Waverly Flower Co x Life’s Patina
Growing Specialty Cut Flowers
For further information about growing a specialty cut flower garden, please visit waverlyflowerco.com
-
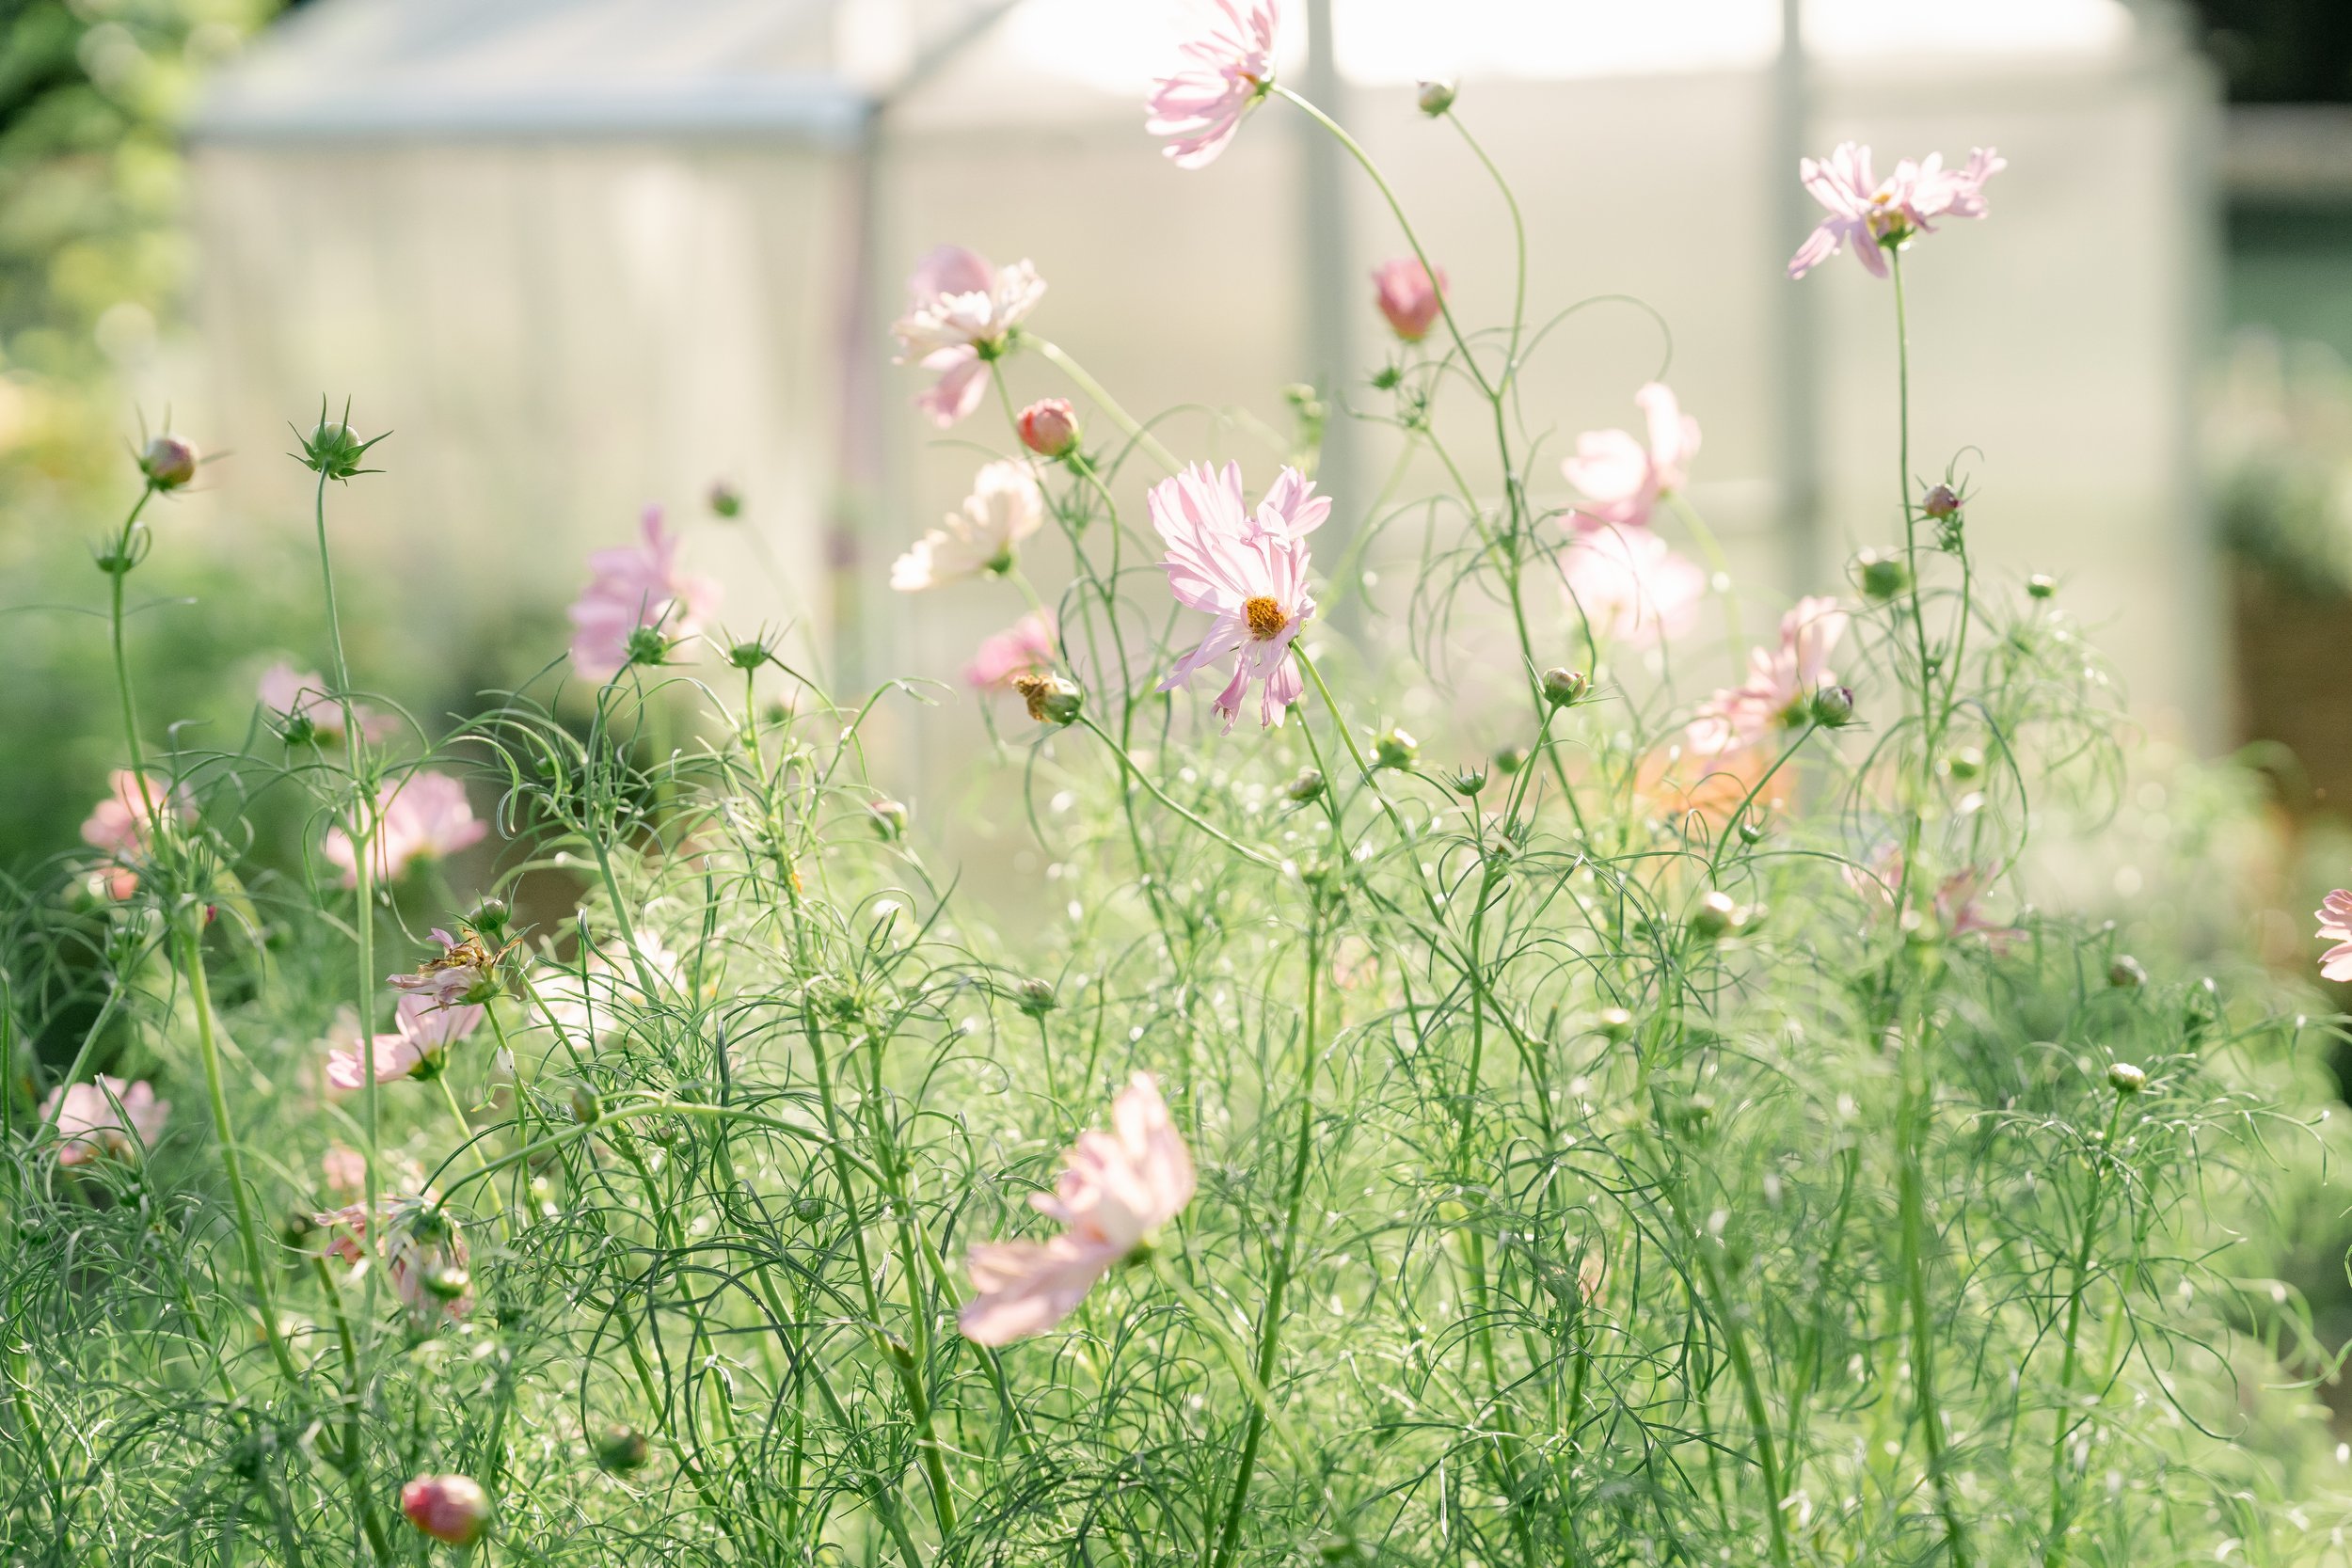
Cosmos, zinnias, and celosia are three easy-to-grow tender annuals that are popular in the cut flower garden.
Seeds can be started indoors with a supplemental grow light in late March or early April and transferred to the garden in May once all threat of frost has passed. They can also be direct sown in the garden in May, if preferred. (Starting them indoors just gives them a slight jumpstart!)
Cosmos and zinnia seeds should each get covered with a light layer of seed starting mix or soil, whereas celosia seeds need light to germinate, so they can be gently patted into the surface. Be sure to keep the area moist by lightly watering daily.
All three varieties are quick to germinate.
Once the young plants are at least 8” tall, you can “pinch” them; this process removes the central stem and encourages branching, which allows the plant to grow much bushier and ultimately yield far more flowers. To pinch the plant, simply snip off the top inch or two, just above a set of leaves.
You’ll typically begin to see your first zinnias buds within 45-50 days of planting the seeds, and they’ll be fully in bloom within about two months. Cosmos will often begin to bloom within two months, although it may take up to three months (nitrogen-rich soil can slow their flowering). Celosia is also relatively quick to grow, and will typically begin flowering within three months.
Cosmos last approximately 5 days in a vase, zinnias are around 7-10 days, and celosia can last up to two weeks.
-
Please see Pink Sky Flower Co’s guest post on our website, “Growing Dahlias for Beginners” for a comprehensive overview of getting started with these popular cut flowers!
-
If you wish to get a jumpstart on the growing season, you can start these seeds indoors in March, around 4-8 weeks before your last spring frost. Love-in-a-Puff seedlings absolutely must stay moist (inconsistent watering is probably the most common reason these beauties fail) and it’s best to use a humidity dome as they germinate. Even so, we’ve experienced inconsistent germination in the past - it may take a little while for some of them to sprout!
They can also be started outdoors in May. Love-in-a-Puff can grow quite tall and must be planted along a structure for them to climb; we use a vertical Hortonova trellis, staked about 4 ft apart, and that seems to work well.
-
Start tweedia seeds in cell trays indoors under ample grow lights in early March, or about 6-8 weeks before the last frost of spring (where I live, the last frost is in early May). Until they germinate, a humidity dome is recommended to ensure they stay moist. Ensure they stay well-watered by misting the tiny plants regularly. Unfortunately, germination can be a bit unpredictable for these beauties, so give them (and yourself!) a bit of patience.
Pinch the young plants when they’re about 4-6” tall and transplant them outdoors after the last frost along a small trellis, fence, or somewhere they can climb a couple feet high. They should be spaced approximately 9” apart. They will flourish for you starting in July, with the best vine-y cuts coming around August. While tweedia is a perennial in warmer climates (zones 9-10), they are grown as an annual in most of the country. An important note while harvesting: when cut, they emit a sap that may irritate some folks with sensitive skin, so be sure to wear gloves.
-
Seeds can be started indoors in March to get a head start, or they can be directly sown in the garden after the last frost. Transplant to the garden in early May, spacing approximately 4-6” apart, and be sure to provide some sort of support; we use two rows of horizontal netting, as these tall and top-heavy plants need protection from the wind and elements.
They’ll take off in June and will put on noticeable growth daily. We get the largest cuts from them in July, and then the more manageably-sized side shoots will be flowering and ready to cut in August and September.
-
There’s a reason I placed this one last on the list :) Lisianthus is notorious for being both extremely (!) slow to grow for an annual and finicky; we actually start seeds as early as November and December to harvest cuts in mid-late July!
We start ours indoors (this is a must!) with supplemental lighting in a minimally-heated greenhouse. We cover the seeds with just a light sprinkling of vermiculite, as they need light to germinate. In order to ensure the seeds don’t get jostled around too much, we bottom water ours (meaning we have their cell tray on top of a sturdy tray that holds water, so the bottom of the cell tray wicks up water). They will begin germinating in a few weeks and grow very slowly over the following couple of months.
I begin hardening mine off in early April and transfer them outdoors about a week later, as they can tolerate a light frost once hardened off. Be sure to use a horizontal trellis to keep stems upright, as they’re relatively delicate and easily susceptible to damage in storms. We also space ours very closely (about 3-4” apart) which helps them grow tall and straight.
Sourcing and Designing Your Arrangement
-
From approximately April-October, there are a few great places to source locally-grown flowers. Some of my favorites include Rising Hill Farm (Quakertown), Liberty Plants (Trappe), Hickory Grove Gardens (Phoenixville) and Flowers from 12th (Quakertown). Waverly Flower Co. will also be providing a limited number of bulk/DIY buckets in the months of August and September this year, too.
During the winter months, it’s challenging to obtain locally-grown flowers. This is because the vast majority of flowers grow best in warmer weather with greater hours of sunlight.
However, there are a handful of regional flower farms that creatively grow flowers even in the middle of winter - including Moonshot Farm in NJ and b.a.r.e. Flower Farm in NJ.
That said, realistically in the middle of winter, most folks will not be working with local flowers. A grocery store or wholesaler that is open to the public, like Younger & Son, is a great choice.
-
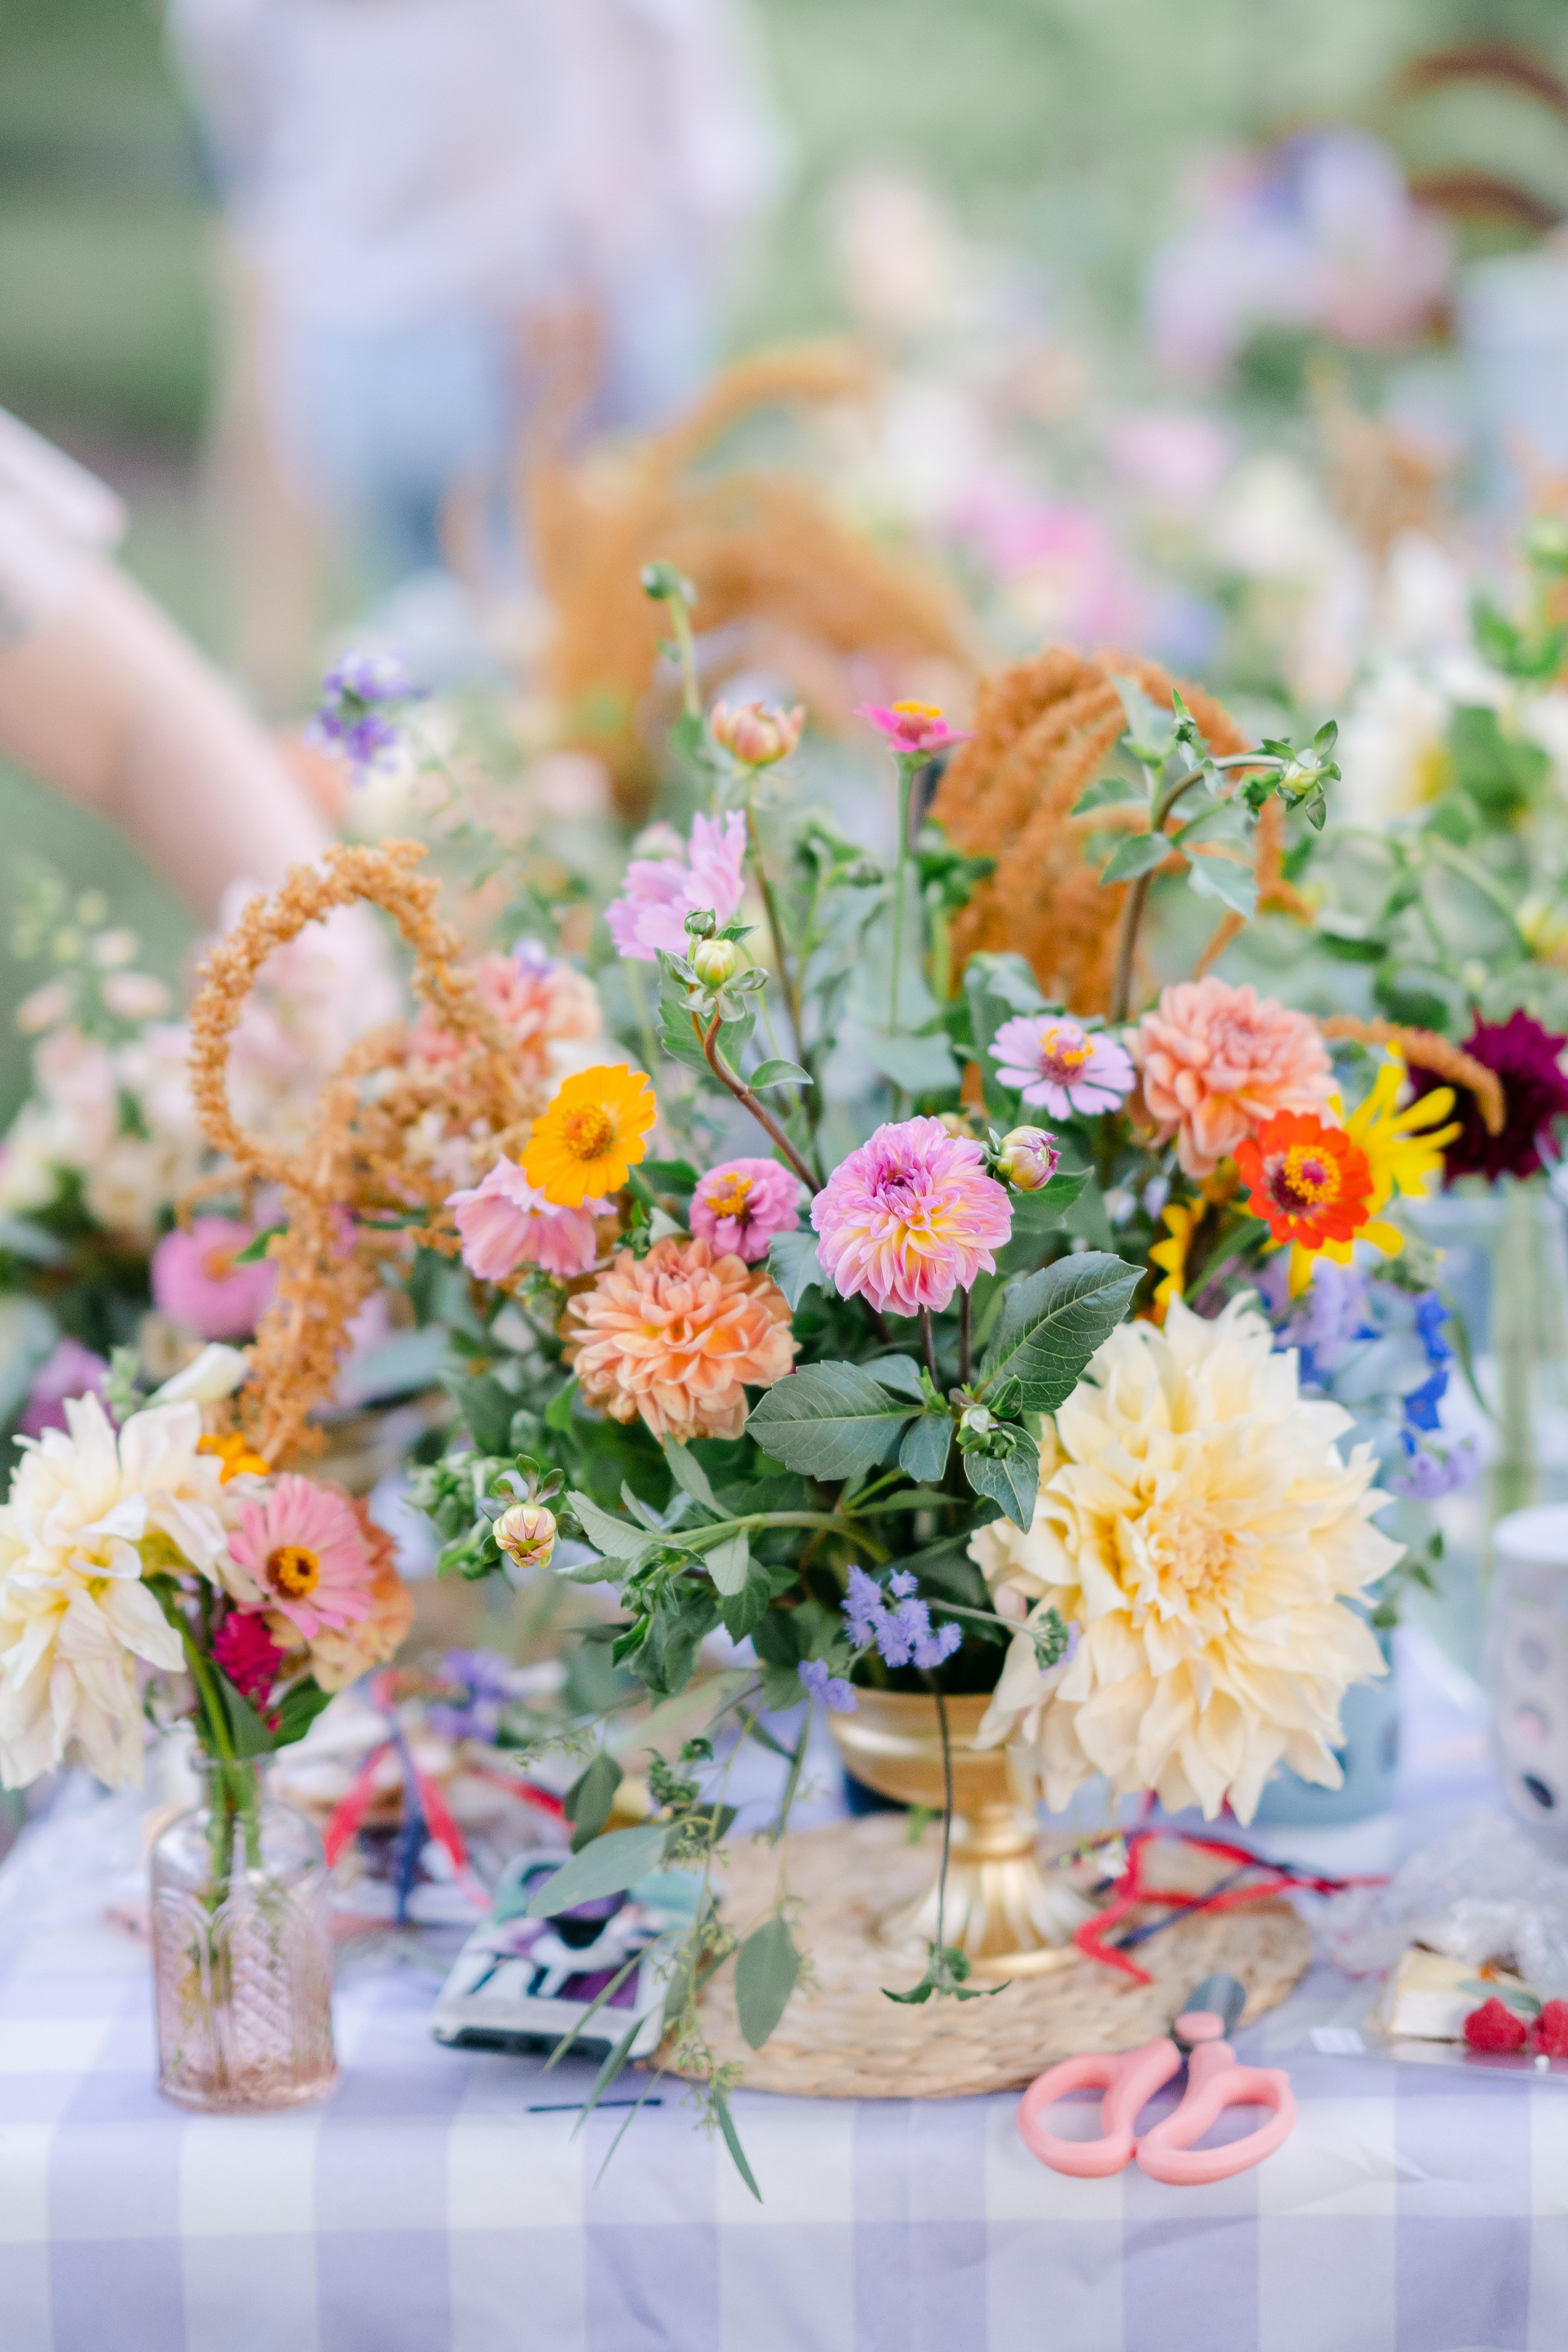
Most arrangements include the five following elements: Focal flowers, line flowers, textural filler, airy accents, and foliage.
Focal flowers are the big, beautiful, showstopping blooms that take center stage in a bouquet or arrangement. Depending on the season, these might include dahlias, roses, tulips, sunflowers, or ranunculus.
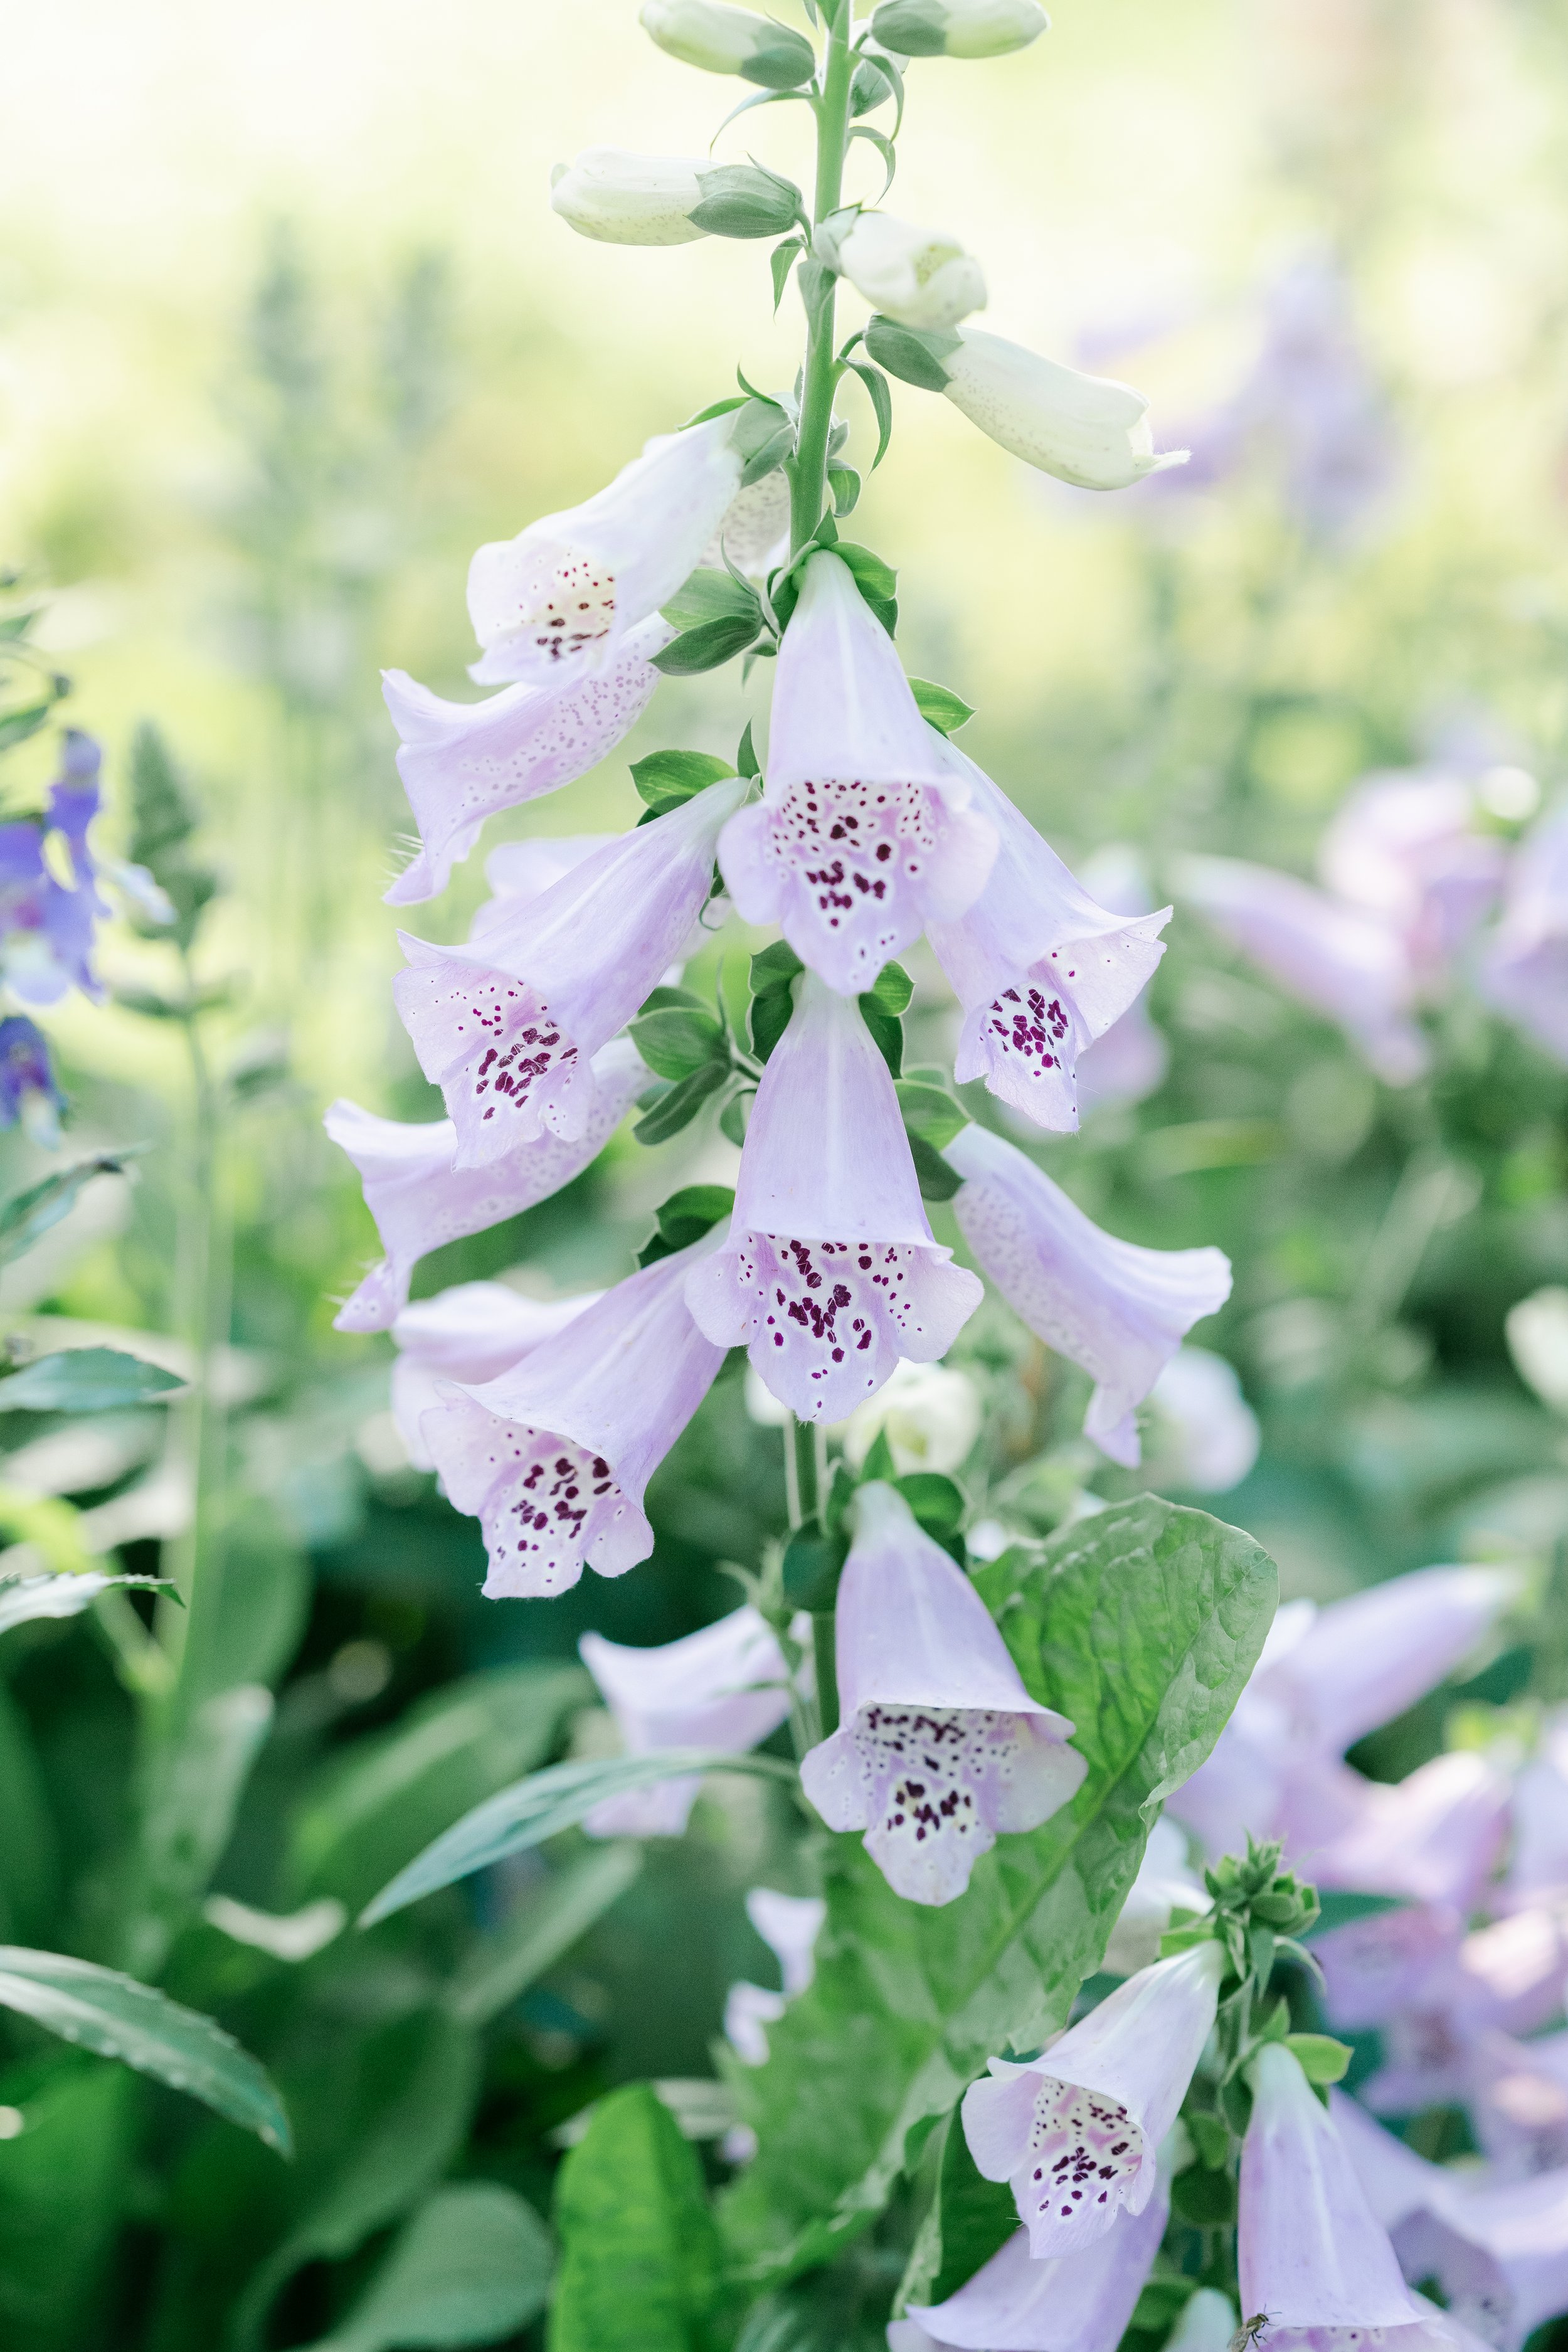
Line flowers give an arrangement height and, along with foliage, can help create its shape. Snapdragons, stock, larkspur, and sweet peas are all considered line flowers.
Textural flowers are smaller and often clusters of flowers, like feverfew or yarrow. They are typically more delicate than the focal flowers and provide a nice accent that rounds out the arrangement.
Airy elements provide a whimsical, ethereal feel to an arrangement; these are the dainty, delicate pieces that often get added towards the end, like astilbe, scabiosa, and ornamental grasses.
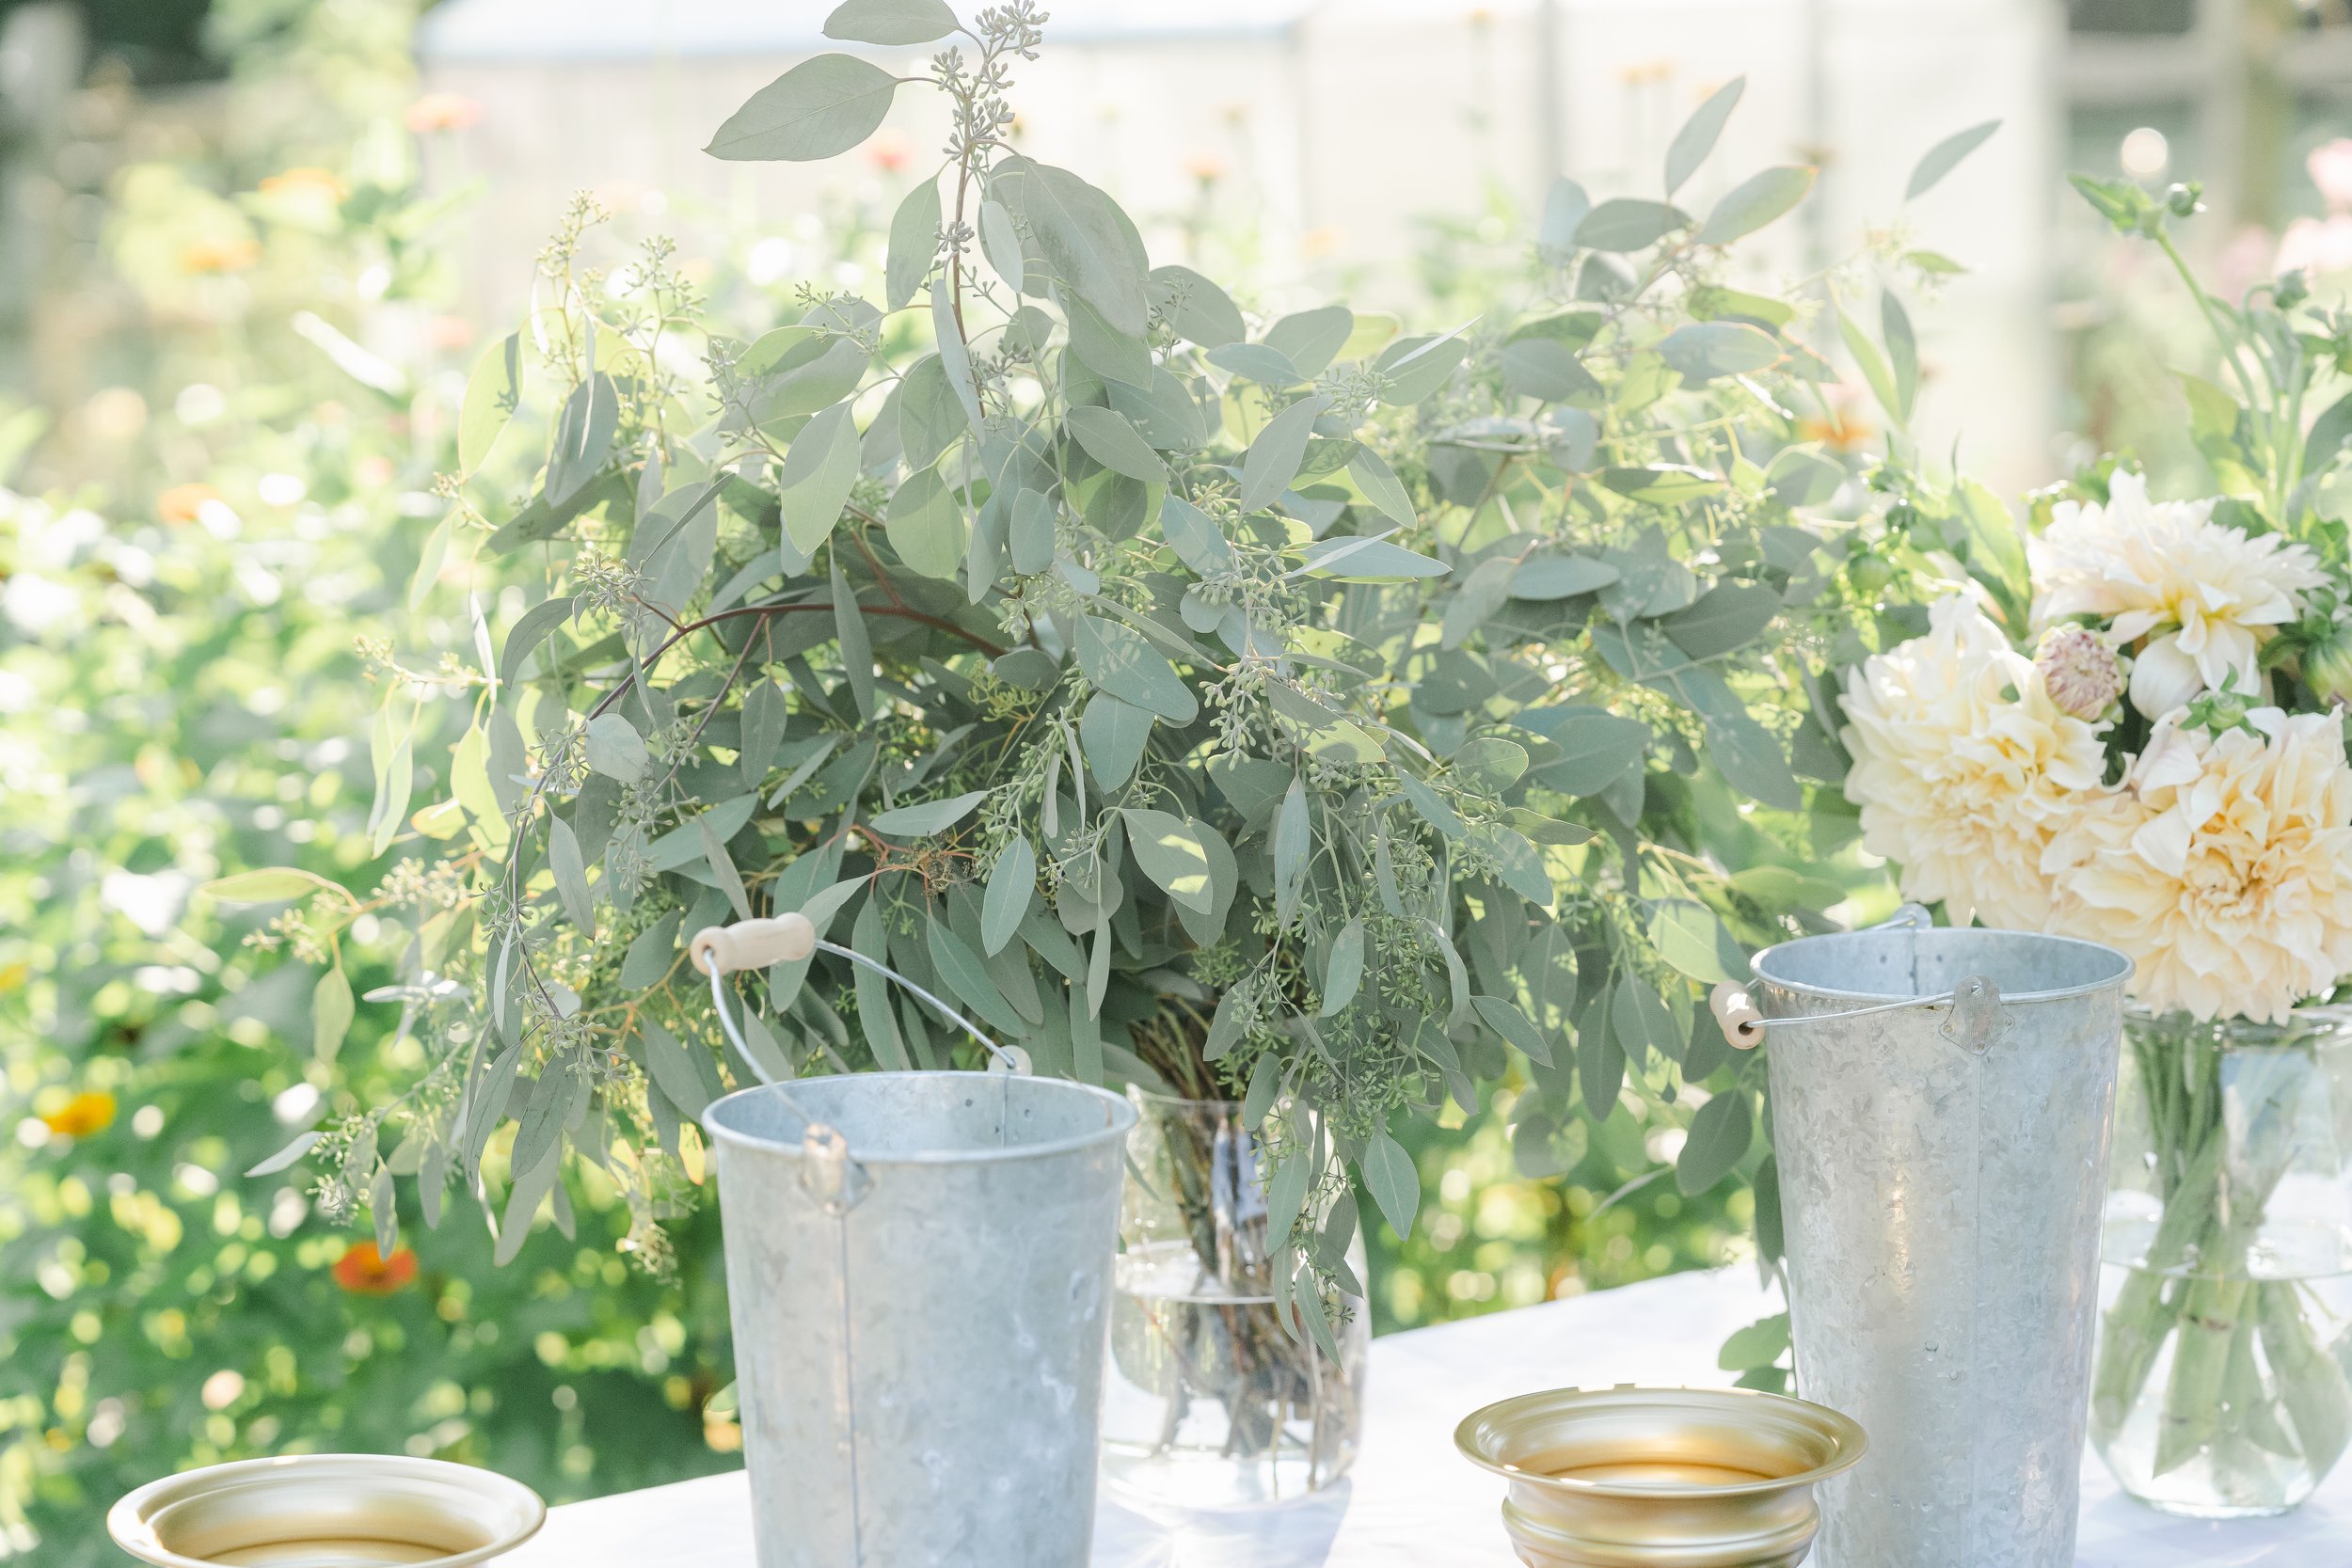
Lastly, foliage (aka greenery) is a necessary component to provide depth and create a backdrop that allows the flowers to shine - the right “greens” can really make all the difference!
In more complex arrangements, other elements may include filler flowers, textural accents, airy accents, and spike/line flowers (to add height).
-
There’s no right or wrong way to build an arrangement, but a few general rules of thumb that I like to consider are:
-It’s generally a good idea to stick with either warm-colored flowers and greens, or cool-colored flowers and greens. Mixing the two can be trickier for new designers. (In the summer and early fall months, most locally grown flowers are warm-toned; in the spring, they’re more likely to be cool)
-Typically, if you’re interested in an arrangement looking more whimsical and wildflower-like, incorporate lots of different varieties and colors. Alternatively, if you’re interested in a more elegant and traditional appearance, select fewer varieties and a more narrow range of colors.
-For smaller vases and arrangements, it’s usually best to choose an odd number (often 1, 3, or 5) of focal flowers; this tends to be more subconsciously appealing to the eye. If it’s a larger vase, like a compote bowl, this number is less important.
-When building your arrangement, it’s usually easiest to start with the more structured greens first, which will create the overall shape of your creation. I typically then add in the focal flowers, followed by the supporting flowers. If there are any really special flowers that I want to be featured prominently, I add them at the very end so that they’re not likely to be covered up by anything else (just remember to leave a little space for them).
-Avoid symmetry! Since each flower and stem is different, it’s nearly impossible to create a symmetrical look, anyway - and an intentionally asymmetrical design will look more natural, abundant, and garden-like.
-Less tends to be more when it comes to floral arrangements, when it comes to the actual number of stems to be used. I strive for every flower to "have its moment" and be visible and enjoyed by the receiver; additionally, a looser arrangement tends to look more garden-inspired, natural, and abundant. A good rule of thumb is that if you think you're about finished with your arrangement, you probably are!
-
“Sustainable mechanics” refers to any environmentally-friendly tools used to keep flowers in their place and/or staying hydrated. It can range from something very simple (using jute twine to wrap a bouquet or chicken wire in a vase) up to something more involved, like floral netting and moss for a large installation.
Floral netting can be found at wholesale florists (Younger & Son in Lansdale is a great source) and is similar to chicken wire but is a bit more pliable. It’s also typically a darker green color to help camouflage the stems. That said, regular chicken wire is a great - and much, much cheaper - alternative. It can be cut with floral scissors (“snips”) and “scrunched up” to fit within a bowl. Use waterproof floral tape to secure it in place. These items can typically be found at Younger & Son, larger craft stores (like Michael’s) or Amazon.
Most notably, floral foam (that green sponge-y stuff you’ll see used by traditional florists) is NOT safe for the environment; it’s filled with microplastics. The chemicals in it can also be irritating to the skin after prolonger or repeated exposure.
-
“Vase life” refers to the amount of time that flowers stay looking fresh and hydrated in a vase. Some flowers - like celosia or lisianthus - can last about two weeks in a vase, whereas other popular varieties - like large dahlias and garden roses - are only happy for a few days.
A few tips for increasing vase life:
-Keep your fresh flowers out of direct sunlight.
-Local fresh flowers tend to drink a lot of water, especially in the first couple of days after they’re cut, so it’s especially important to water them regularly!
-Add flower food (if you don’t have any on hand, add about 1tsp of sugar and 1tsp of apple cider vinegar to the vase and stir.)
-Every couple days, lift up your bouquet and trim the stems on an angle by about a half inch and switch out the water. Trimming stems on an angle increases the surface area slightly which allows them to “drink” a bit more water.
-Using “Quick Dip” and Crowning Glory’s Flower Spray can be a helpful way to keep your flowers looking fresh, especially if they have to be kept out of water for any period of time.