A Detailed Guide to Growing Sweet Peas
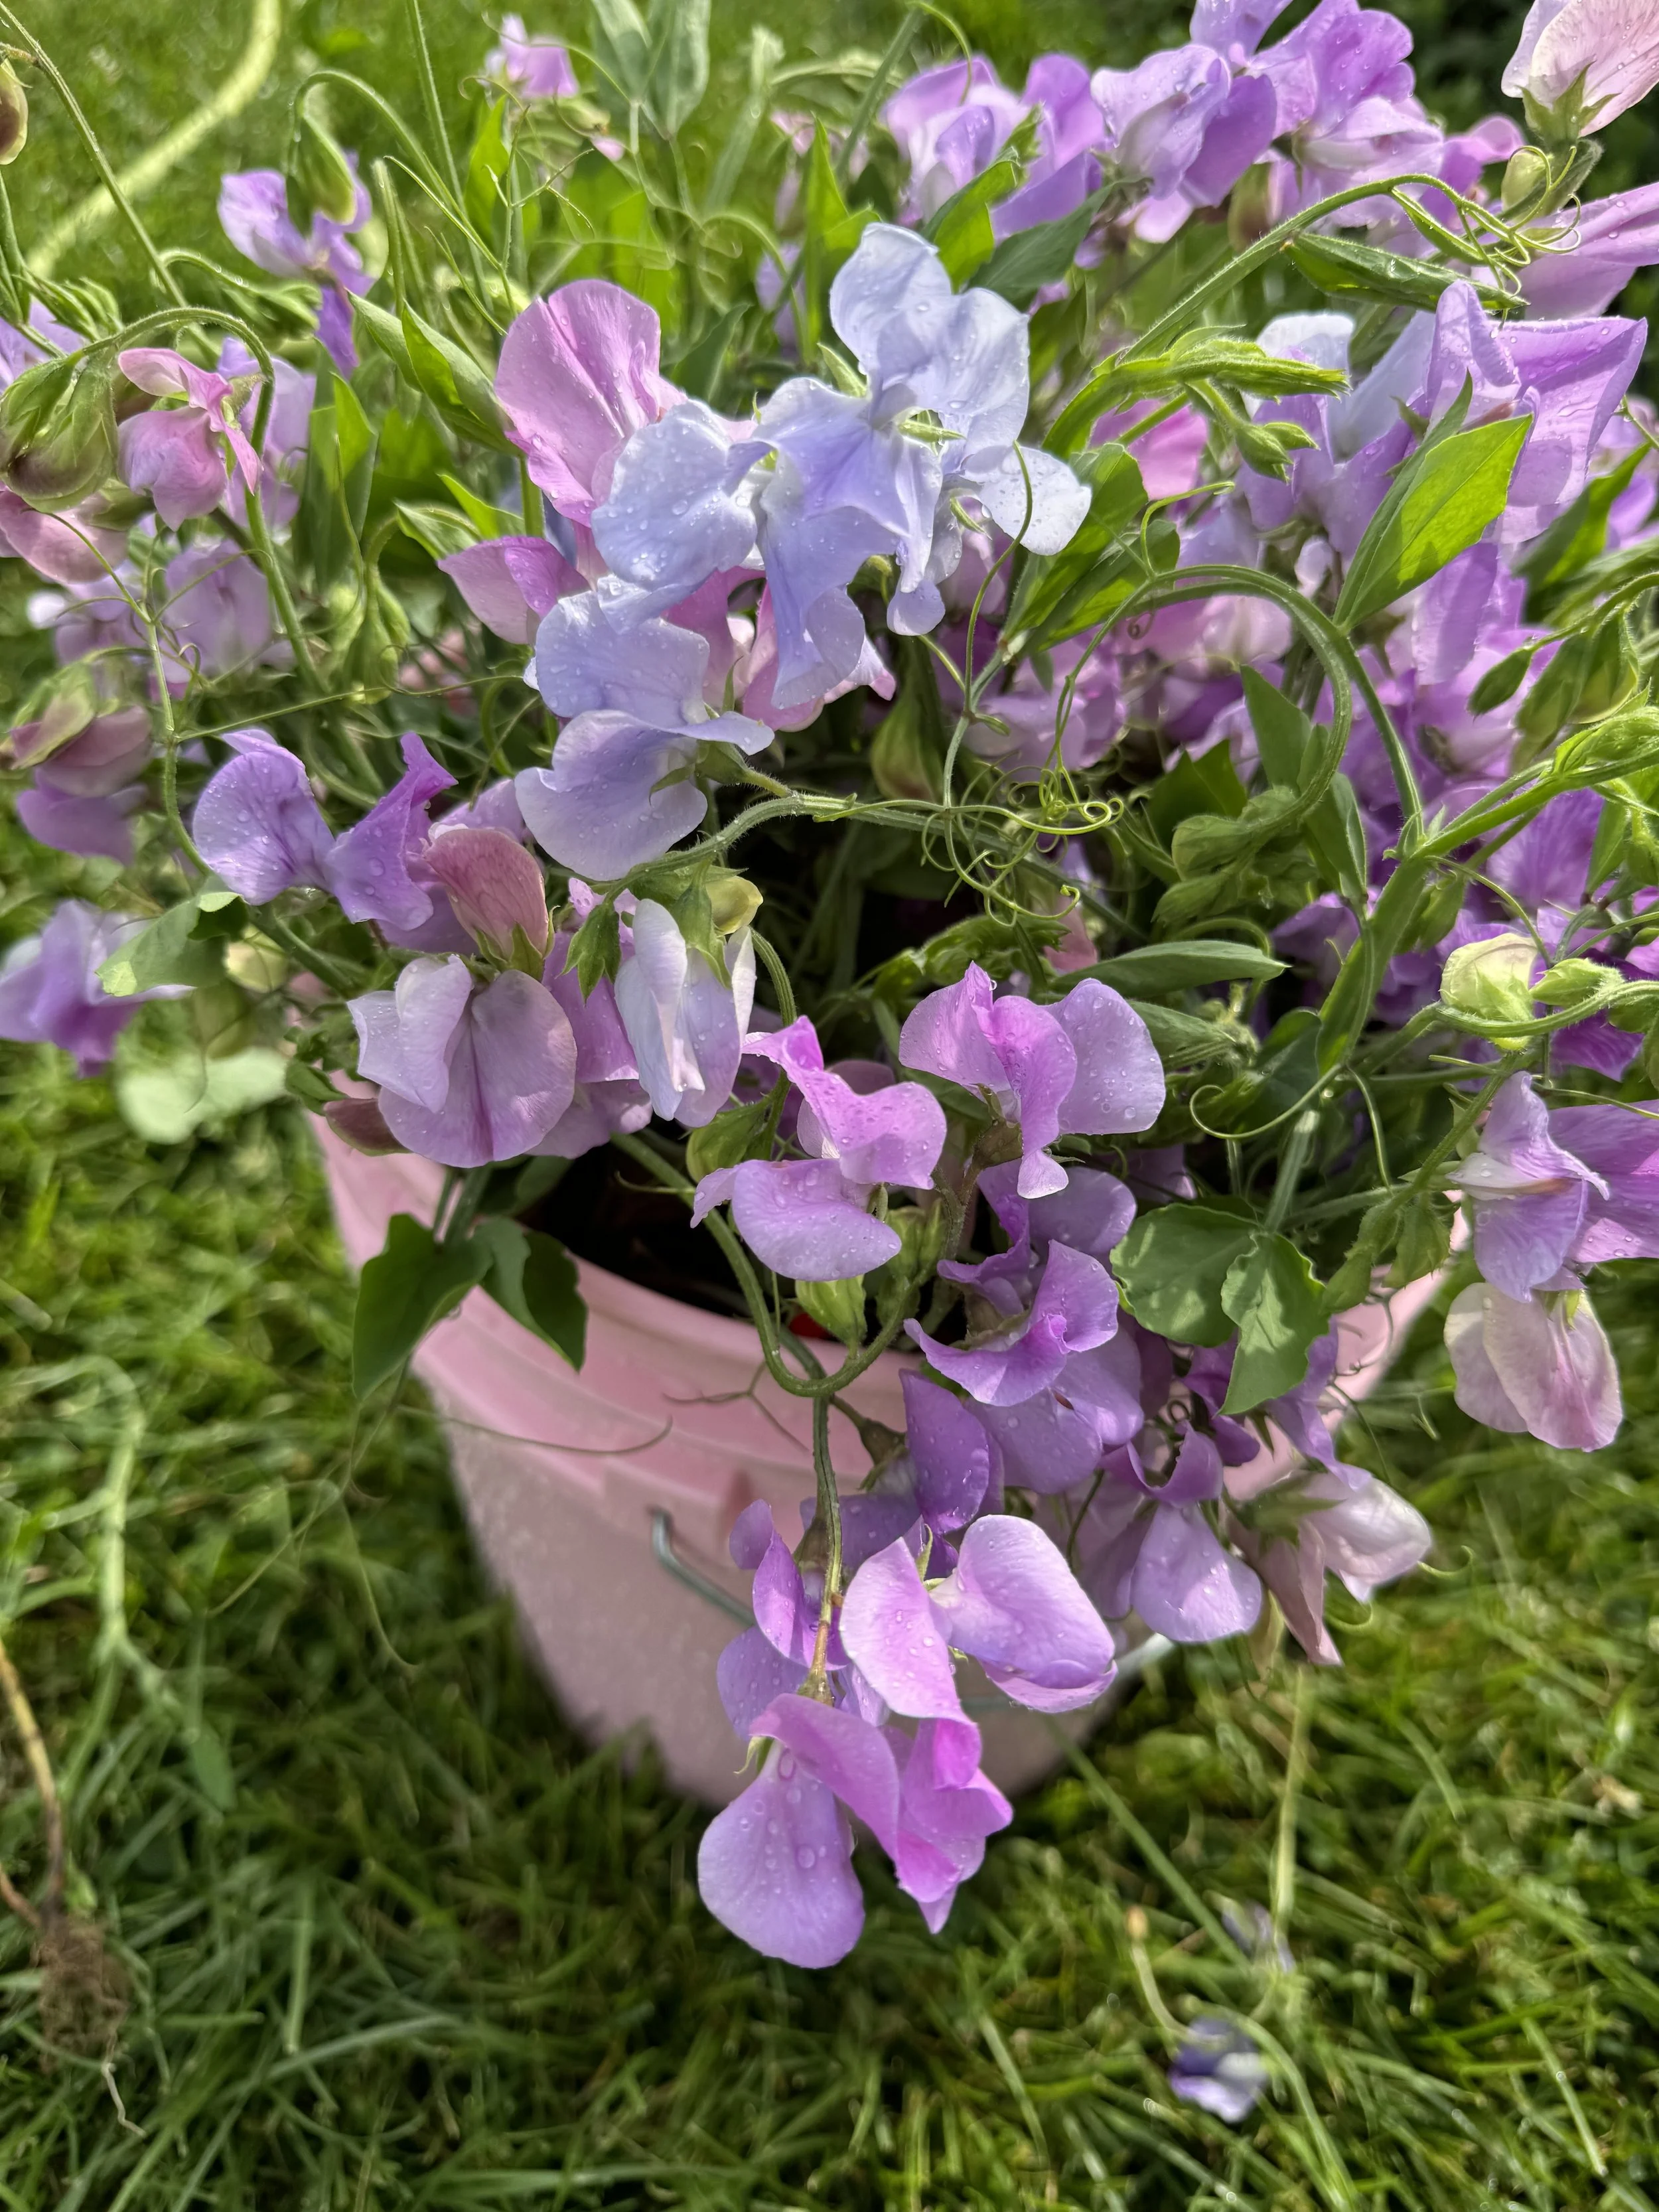
Blooming during the month of June for us here in Greater Philadelphia (Zone 7a), sweet peas have a way of elevating every arrangement. With their lush texture, heavenly scent, and whimsical vines, it’s no secret that sweet peas are one of our favorite late spring flowers - and with a wide array of gorgeous colors (including blue!), I happily work them into the growing plan of every June wedding.
Sweet peas are notoriously a bit finicky, though, and many home gardeners find them tricky. We’ve grown them successfully these past few years, with plans on growing more than ever in 2025, and I’m happy to share how we grow them.
I’m writing this post with great detail, since we’ve had friends express interest in a more comprehensive guide. If you’re a gardener looking for quick tips, however, here’s our quick and dirty version: do not first soak the seeds, use a deep cell tray, grow them in a very cool area and provide them with abundant supplemental light, transplant them outside along a fence or trellis in mid-late March and fertilize well.
Sourcing Seeds and Timing
We purchase our sweet pea seeds in the dead of winter and start them in February. I purchased all of our seeds this year from The Farmhouse Flower Farm, Johnny’s, and The Flower People, but it’s also pretty easy to save seeds from sweet peas - so if you grow an heirloom variety that you especially love, be sure to collect and save a few this summer! This is an especially good idea because sweet pea seeds tend to be more pricey than most other seeds. Some of our more specialty varieties equate to $1/seed!
Sweet peas have two notable traits with their growth as it relates to preferred climate and timing. First, they are a cool-weather flower above all else; they resent the heat, especially as young seedlings, and will thrive in temperatures between 40-60 degrees. Second, most varieties will be most productive (i.e. produce the most flowers) during the longest days of the year. This combination of traits (which may seem a bit counterintuitive, but they’re native to the Aegean Islands, which provides these growing conditions for them) illustrates just how important their timing is, because they must be provided cool weather to put on early growth, and then be mature enough to bloom prolifically as we approach the summer solstice.
Our preferred timing, then, is to start them in February and transplant them outdoors to the garden sometime in March or early April.
Seed Starting Location and Materials
It is extremely important that sweet peas be started in a chilly area. Unfortunately, inside the main part of your home will be too warm for them to grow properly. We keep ours in a minimally heated greenhouse, but other good options include an unheated basement with grow lights, or a garage with grow lights. Regardless of where you start them, sweet peas will benefit from having a supplemental light source. They are quick growers and can very easily become “leggy” (this is one of the most common issues with the seedlings) as they stretch towards more sunlight. Providing them with a quality grow light for 10-12 hours per day will help them tremendously.
The specific cell tray used is another important consideration; sweet peas have a long taproot, and a deep cell tray will be best to accommodate their growth habit. It’s not always easy to find these at garden centers - even well-stocked ones - so it’s a purchase that may be best made online. They also do well being soil-blocked, if you prefer this method. They’re pretty heavy feeders, too, so using a quality seed starting mix with some additional compost or bone meal mixed in will provide them with the extra fertilizer they need.
Getting Seeds Started
Once you have your seeds and materials, fill the deep cell tray with seed starting mix and plant the seeds about 1/2” deep. With nearly all seed starting, I plant about two per cell tray, just in case one doesn’t germinate properly. I then “thin” them down to just one once they’re an inch or two tall.
Until they germinate, which typically takes one or two weeks, you may wish to use a humidity dome to keep them moist. The young plants are not only heavy feeders, but also heavy drinkers! We bottom water ours.
Also, it’s worth noting that there is a long-running debate in the sweet pea community about whether to soak or not soak your seeds for a day before planting them; the old-school belief is that this would help them germinate more rapidly. However, more recently, experts in the field are saying that this added step actually decreases germination rates and that not soaking seeds actually leads to more healthy plant development. In my very unscientific study last year (I soaked seeds in one tray, and didn’t for the rest), I anecdotally found the new research to be true. As a result, I’m on team no soak!
Seedling Growth and Hardening Off
I can’t think of a seedling that grows faster than sweet peas. They will grow rapidly for you, especially once the days get a bit longer, and the goal is to keep them “stocky” as opposed to tall and thin; this is where the additional light source is so helpful, because the biggest cause for them getting leggy is not enough light.
Once they’re about six inches tall, it’s important to “pinch” the top inch or two off with your finger to encourage more branching. This will ultimately yield a more productive plant for you with more flowers in June!
Keep them cool as they grow, and around mid-late March or very early April it’ll be time to transplant them outside once they’re hardened off. In milder winters past, I’ve transplanted mine around early-mid March, though I’m not so convinced this year will allow us to do the same - it’s felt like an unusually cold winter! Be sure to check the forecast and ensure no upcoming nighttime temperatures below 25 degrees or so. While sweet peas love cool weather and can tolerate frost, they will struggle below the low 20s without some protective covering. Since they need to be grown along a fence or trellis (more on that in a second), it’s a real pain in the neck to provide them with a protective covering. As a result, I will hold them back an extra week or two if needed.
Hardening them off is a necessary process that involves exposing them gradually to the outdoor elements; since they’ve been inside in a controlled environment, they need time to develop the strength to tolerate winds, rains, and greater fluctuations in temperatures. Start by taking the tray(s) outside for an hour or so the first day, then a couple hours the second day, and so on. After four or five days, leave them outside overnight - assuming there aren’t any terrible winds or heavy rains expected, of course! They should then be ready to transplant to a well-fertilized spot in your garden along a fence or vertical trellis.
Transplanting to the Garden
Sweet peas are a vining plant, and it’s imperative to plant them in an area where they can climb around a structure and grow tall. If you don’t have a fence, an affordable and easy solution is to use a vertical Hortonova trellis hung between a few 6-ft vertical stakes from the garden center. Within a couple of weeks, your sweet peas will have grown so prolifically that you won’t even be able to see the trellis!
I grow mine on either side of the trellis, just to make as much use of it as possible, and plant the seedlings about 6-9” apart. Be sure to fertilize the area well with a rich compost, fish fertilizer, or bone meal, as they will make good use of it - I often mentioned that most cut flowers are pretty forgiving when it comes to soil quality, but sweet peas are a notable exception here. Without proper fertilization, their growth will slow and they will produce far fewer flowers.
One other important step with the sweet peas is tying them to the trellis or fence to support their upright growth habit. A simple jute twine works fine here, and you may have to tie them at a couple points as they grow taller - they really are one of the fastest growing plants in the garden, so be sure to keep an eye on them!
Keep them well-watered, especially if we have any unseasonably warm May or June weather. Once they start blooming for you - likely in late May or early June here in Greater Philadelphia - be sure to harvest them regularly. Their little tendril-y vines are just as worthwhile as the flowers themselves, and tend to hold up well in an arrangement. Like most cut flowers, they will bloom most prolifically if they are regularly picked! They’ll then last about 5-6 days in a vase with a bit of cut flower food.